
Indiglo gauge Install
1993-1998 Toyota Supra Indiglo Gauge
Install Procedures
By Larry Ma***More
Photos***I ordered my indiglo gauges from www.Procarparts.com.
This is the 5 color Indiglo gauges that are white in daylight. I’ve try to take
the best pic of each step to help all you other Supra owners who have bought
this kit. The install is fairly simple, just takes some time to make it nice and
neat. Here are the steps I took to install mine:Disclaimer:
These are the steps that I took to
install my Indiglo gauges. Depending on what kit you purchased, results or
install directions may vary. Please read this tech article thoroughly before
starting your install. As usual with any tech article: If you mess up, it’s not
my fault… So be careful.Note: Before you start installing the gauges, you might
want to hook it up to a 12v or 14v source to verify the gauges work before
installing. This will take care of lots of headache later if for a reason they
are not in working order.
Things
needed:
Phillips screwdriver (magnetic tip
preferred)Double-sided tape
Electrical tape/wire
splicersSmall Clippers
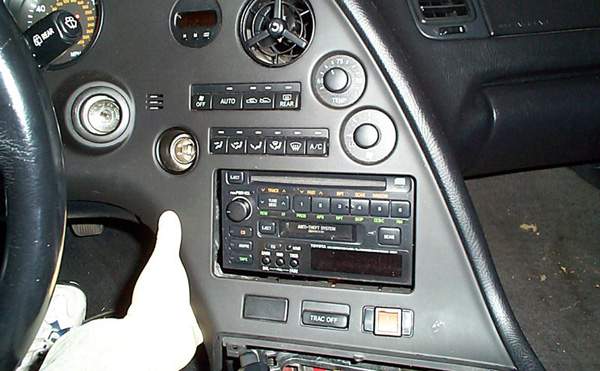
1. Disconnect Negative cable to battery, Unscrew Shift-knob from
shifter and remove ashtray from center console.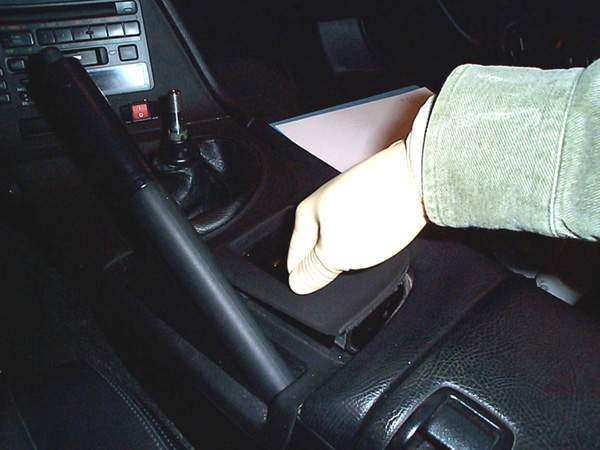
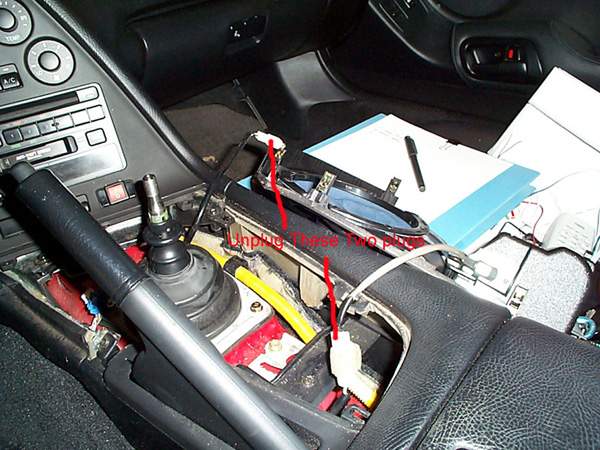
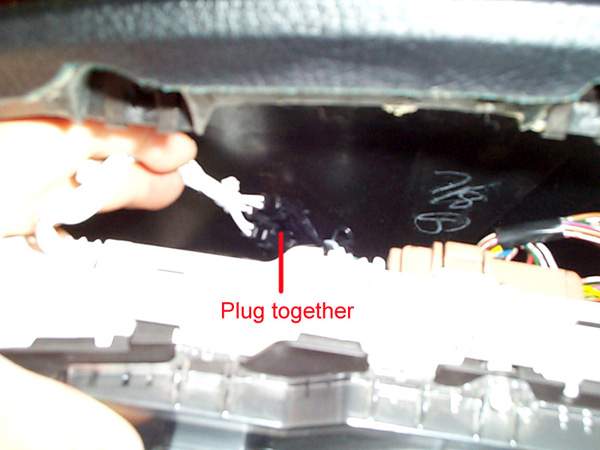
Remove Center Console piece (just pull up as in picture), and
disconnect 2 plugs attached to center panel:
Unscrew 5 Phillips screws from the top instrument panel, pull off
and disconnect 3 plugs from back of panel:
Unscrew screw near top of center console panel (do not drop screw):
And pop off center console and disconnect plugs from back of
panel:
Snap off and remove center gauge panel:
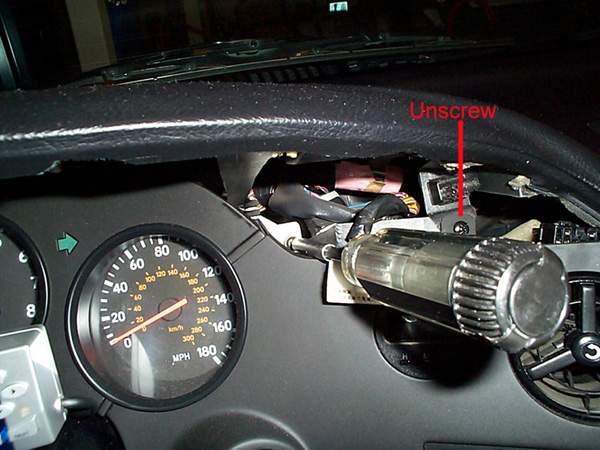
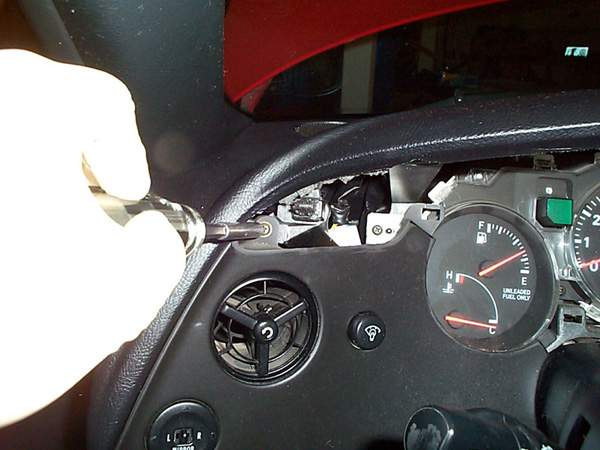
Unscrew screw located top-left on Left dash panel, pull off and
unplug 2 plugs:
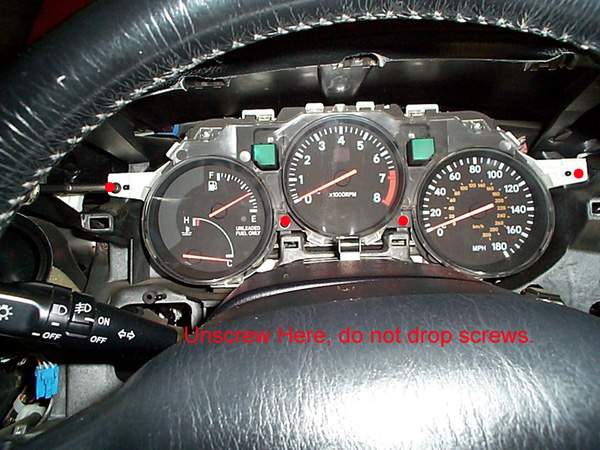
Unscrew 4 screws from gauge cluster:
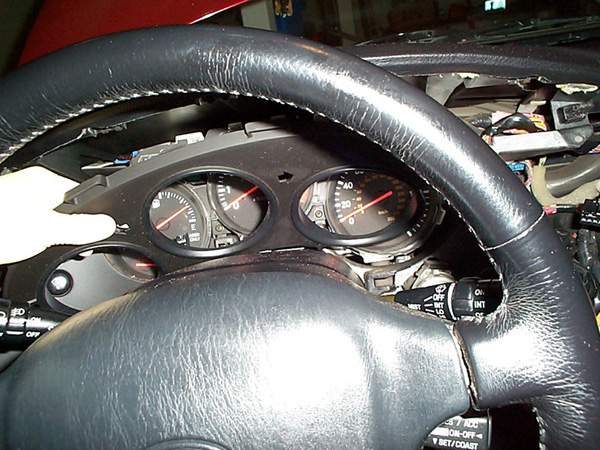
Unplug 3 plugs from back of gauge cluster and remove, this is what
it should look like afterwards:
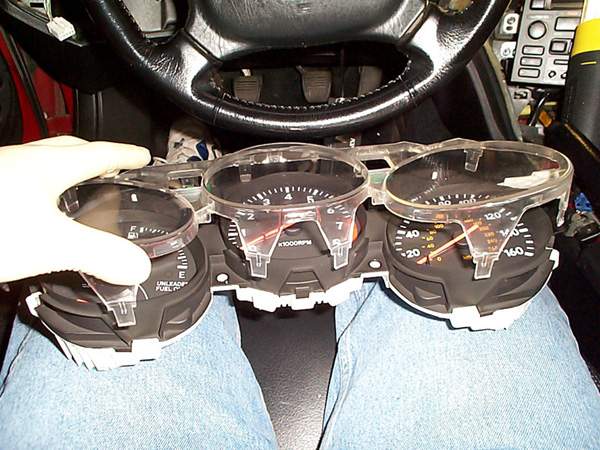
Unsnap all surrounding clips on clear gauge guards and remove clear
cover (be very very careful not to crack the clear guard):
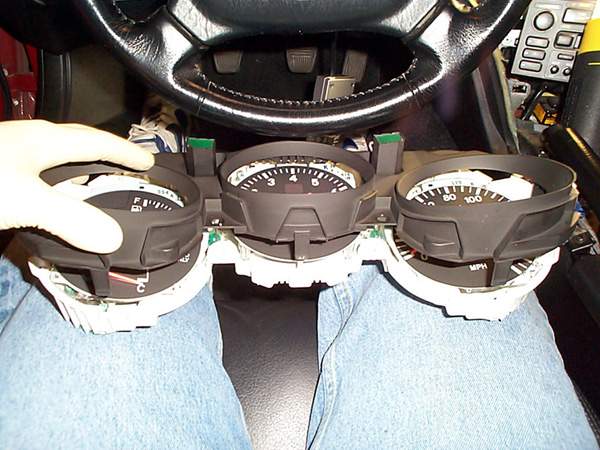
Unsnap all surrounding snaps to black gauge cluster panel and remove
(again, be very careful not to crack it):
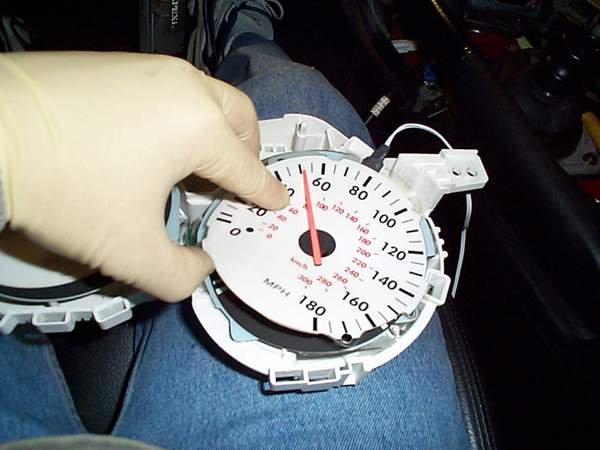
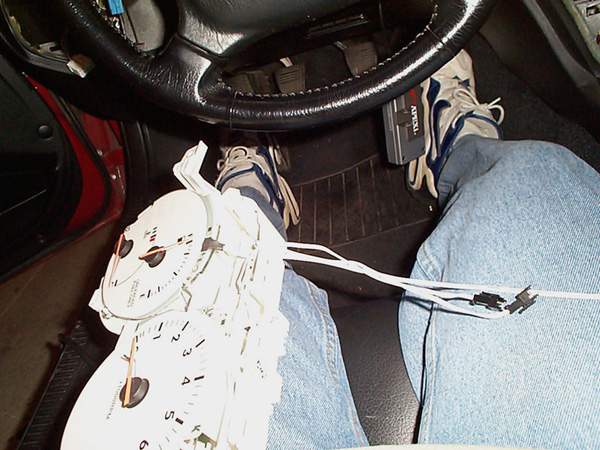
Now you should have just the gauge and needles exposed. Slide the
Gauge faces over the needles, DO NOT remove the
needles or else you will have a heck of a time calibrating it later. I put
double-sided tape under the gauge faces to stick to the stock faces, this
way I could still go back to stock if I choose to later.
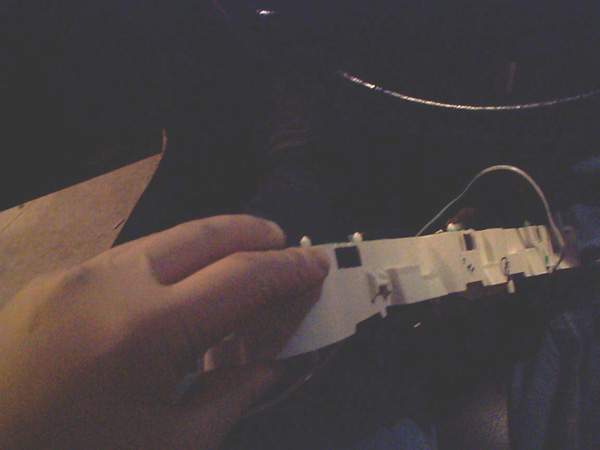
Cut the slits on top left of the cluster enclosure for the wire
connectors to run through:
Run Wire connectors from gauge faces through the hole you just
created in step 12 (kind of a back picture, but you could get the idea of
where the wires are coming out of the little hole:
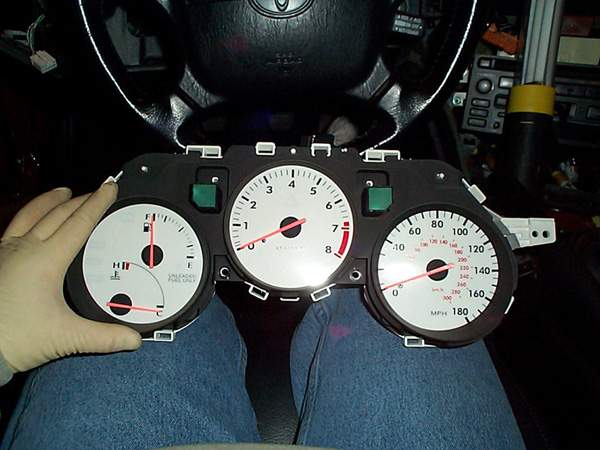
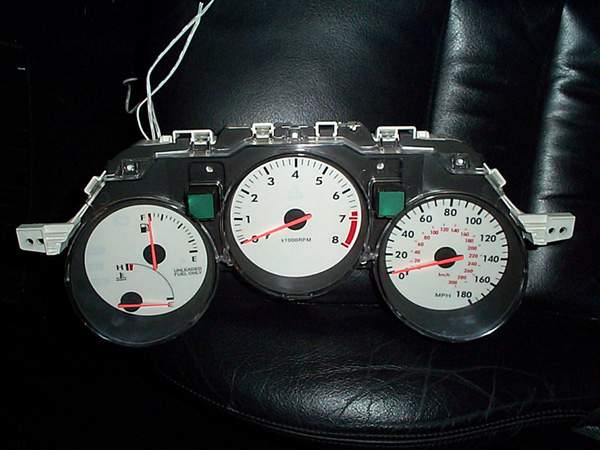
Snap Black Cluster piece back on. This is what it should look like
(be careful not to crack it):
Snap Clear Gauge guard piece back on (be careful not to crack
it):
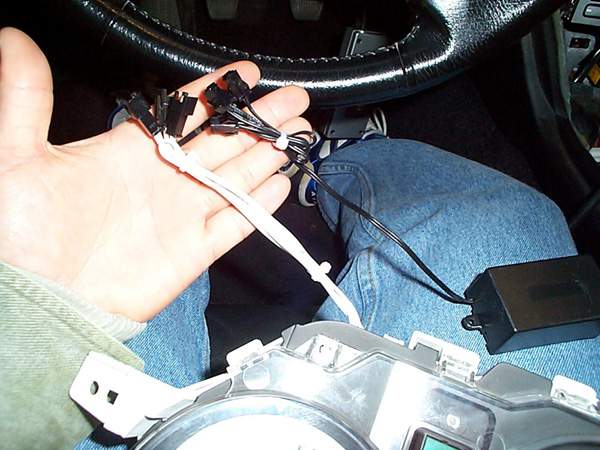
Use small zip-tie to make the wires shorter and neater:
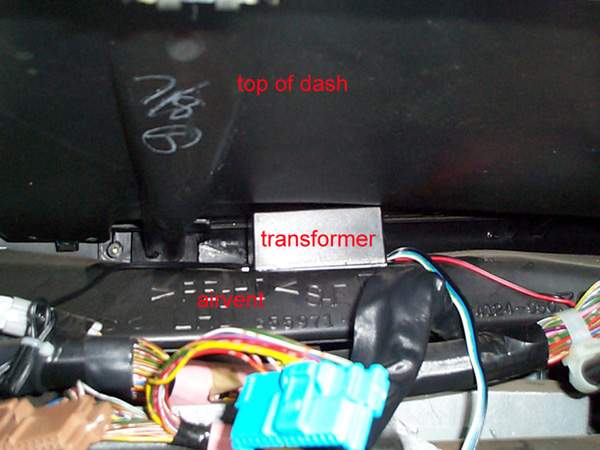
Put some strong double-sided foam tape on bottom of transformer and
mount between bottom of dashcover and air-vent pipe (this will secure the
transformer in place):
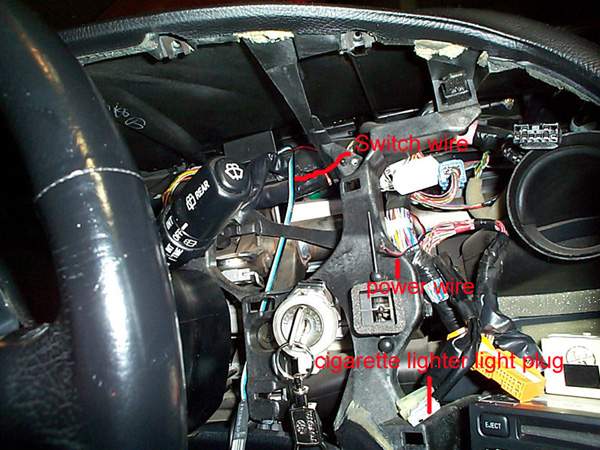
Run Switch wire down by ignition (you could run it anywhere you
want, but I find it more convenient by the ignition), and run the
power/ground wire to center dash (this will tap into power of cigarette
lighter light:
Connect positive (red) of power to “green/yellow” wire and Ground
(black) to “green/white” wire of cigarette lighter light plug. These are
the colors for my ’94 TT, others might be different.(See pic on step 18).
Note: Do NOT tap power for transformer into the stereo
illumination wire, it may induce unwanted high pitch noise from
transformer.
Connect the 3 gauge cluster plugs to the transformer:
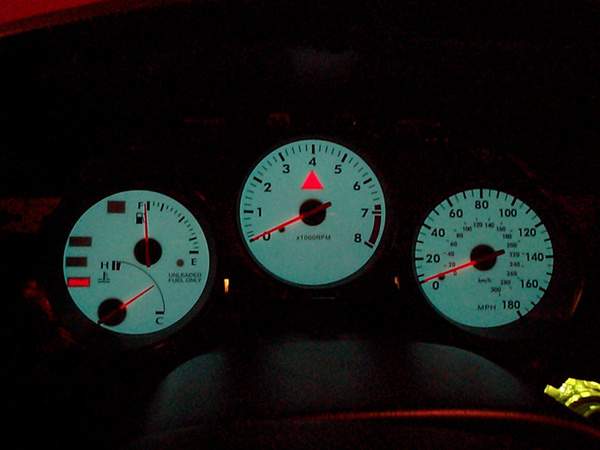
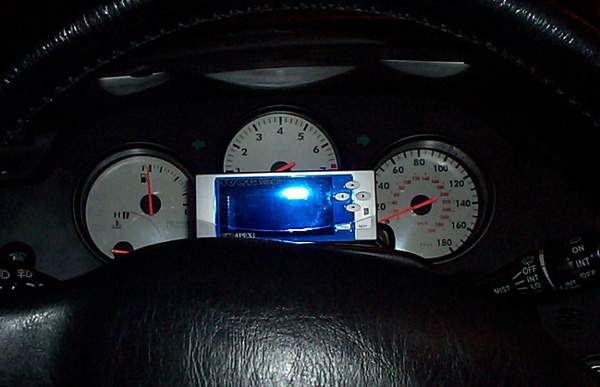
The hard part is complete,now test it to make sure it works before
installing all the panels. You’ll have to plug the dimmer switch in and
turn on your lights, it should light up and you’ll be able to change
colors with the switch. This is what mine looked like:
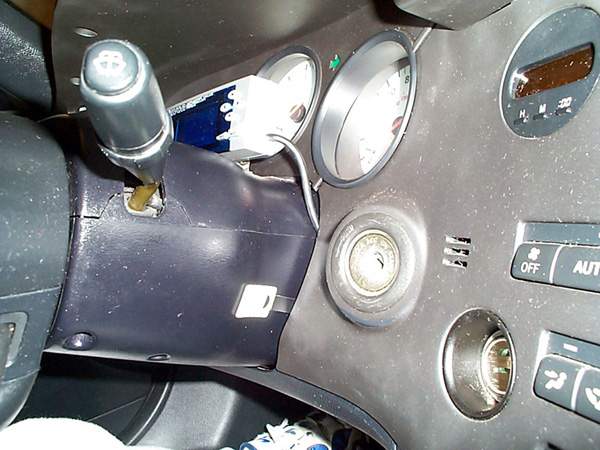
Now Mount the switch on the side of the steering column or wherever
you prefer and install all the panels in reverse order:
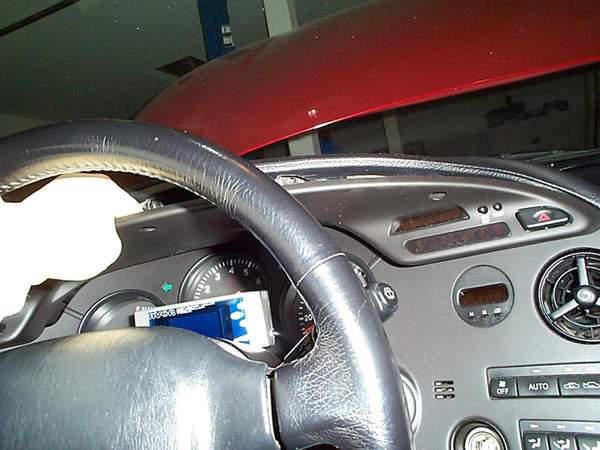
Here is a pic of where my switch is mounted with all the panels back
in place:
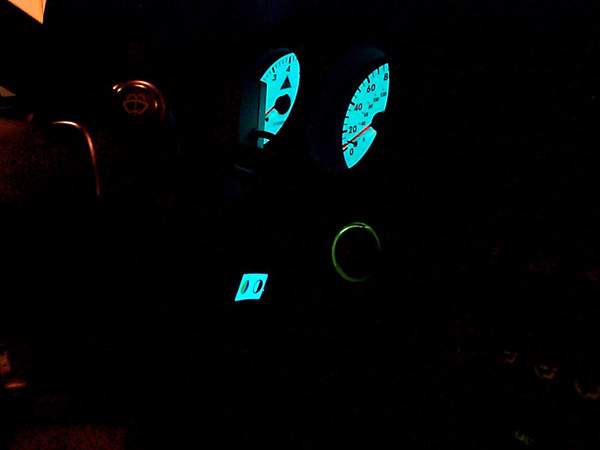
Here is a pic of the switch lit:
Pics:
OFF:
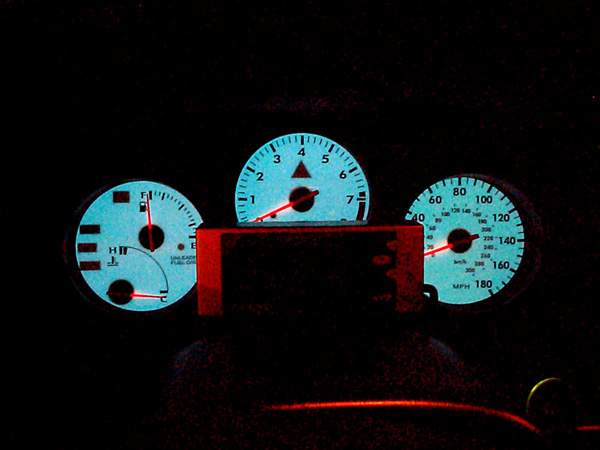
ON:
THE END!
E-mail me if there are any questions at:
mailto:larryma@larryma.com?Subject=Indiglo
Gauge Install

Leave a Reply