|
Also in
PDF - camera_mount.pdf |
I designed and
made this camera mount in about 2 hours, including a trip to the
hardware store! The
descriptions apply to my 1994 model, but are probably similar to any
Mkiv and might work with other cars.
You may find some variations that suit your needs better, but
the basics work.
The basic idea is a very
strong and stiff camera mount that attaches to the back of the rear
seat, with the seat folded down.
|
Parts
list:
(1)
1-inch pipe, 6 inches long, threaded at both ends
(2)
1-inch pipe flanges
(4)
¼-inch bolts, 1.25-inches long, with washers and nuts
(1)
piece of ½- or 5/8-inch plywood, 4.25” x 28”
(1)
tripod head
(1)
¼-inch bolt, 1 inch long
(1)
small washer
(1)
large flat washer
(1)
large rubber washer
wood glue
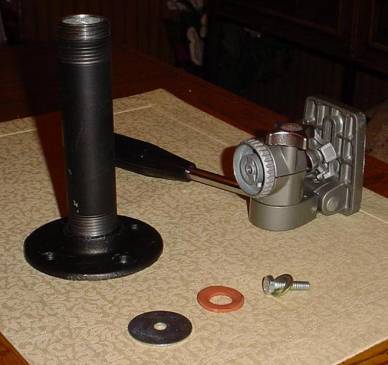
Several
of the parts are pictured to the right. These include the 6-inch
length of 1-inch pipe, one of the two pipe flanges, small, large and
rubber washers, the 1-inch long 1.4-inch bolt, and the tripod head.
|
|
Several easy steps are
involved in fabricating the camera mount as shown.
These steps include:
|
1.
Fold down rear seat back.
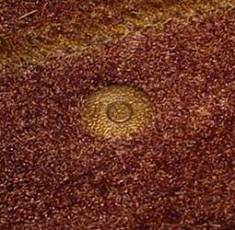
2.
Remove four small plastic fasteners holding the carpet down
behind the seat (see right). Note
that these are fragile and may break (I broke 2 of mine). The center piece should be pulled out through the
washer-like plastic piece. I
also discovered that I could push the center piece in slightly and
then remove the whole thing. Pull
the carpet back towards the back of the car.
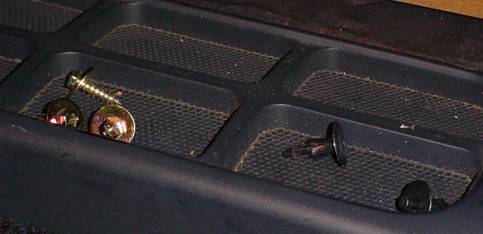
3.
Remove 3 screws that fasten the carpeted back of the seat to
the seat frame (The screws and two of the plastic fasteners are shown
to the right).
|
 |
4.
Slide carpeted back of seat towards the back of the car about
¾ inch, pulling it out from underneath the seat top upholstering,
exposing the inner seat back shown below.
|
 |
5.
Remove seat back panel. It
is 1/8-inch pressboard.
|
 |
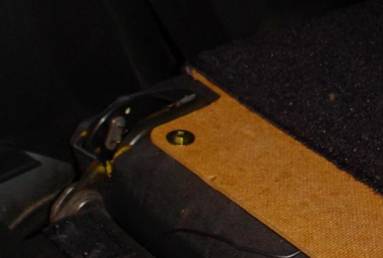
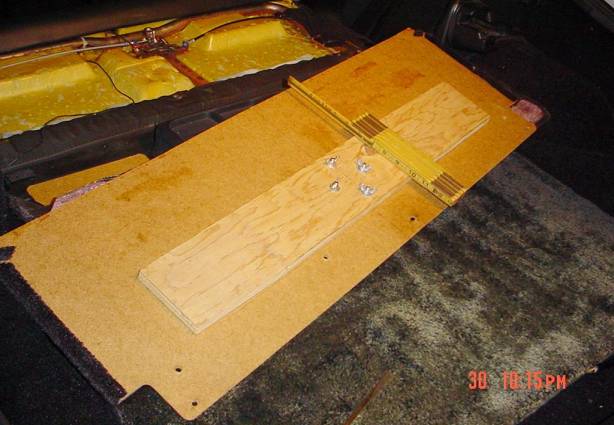
6. Cut a piece of ½-inch or 5/8-inch plywood 4.25” x 28” as
illustrated to the right.
7.
Mount plywood as shown approximately 5.75” from the top/front
of the panel and centered between the ends.
The fit in the seat back should be confirmed prior to final
assembly. Plywood should be glued to the pressboard (I also put four ½-inch
wood screws through the pressboard into the plywood). The plywood is required to stiffen/strengthen the pressboard.
|
|
8.
Mark and drill four holes for the bolts to mount the lower pipe
flange in the center of the plywood.
I used carriage bolts for a slightly cleaner look and fastened
them with wing nuts to permit simpler removal, if desired.
|
|
9.
Replace the seat back, using the three screws you removed and
re-fasten the carpet with the surviving plastic fasteners.
|
 |
|
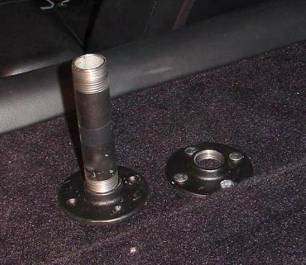
10.
Insert one end of the threaded 1-inch pipe into the attached
pipe flange and screw the other flange on the opposite end.
|
|

|
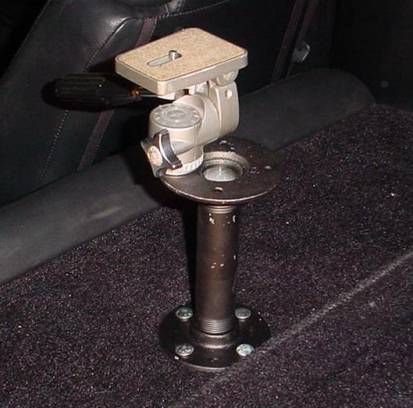
11.
Mount the tripod head to one hole in the flange, using a bolt
that matches the threads in the bottom of the tripod head (mine was a
¼-inch bolt, YMMV). I
put a rubber washer and large flat metal washer between the pipe
flange top and bottom of the tripod head.
|
 |
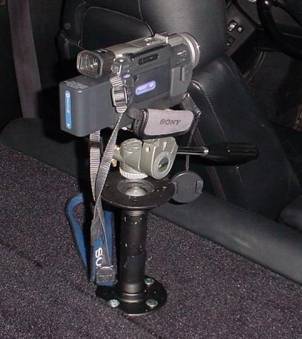
11.
Mount the video camera to the tripod head, exactly like if it
were on the tripod. You
have the full range of adjustments available on the head.
|
 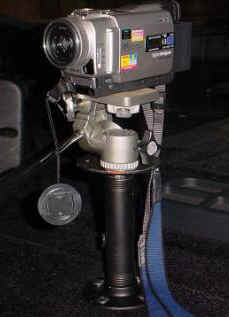 |
I painted the pipe and
flanges flat black to blend with the black carpet.
I leave the bottom flange mounted to the seat back.
I remove the pipe and upper flange when not needed (as shown to
the right).
There are certainly a
number of other ways of doing this.
This mount has been very stable – I have used it very
successfully for road racing and drag racing.
Good Luck!
|

|
|
Questions or Comments?
Drop me an email!
 |