MKIV 4-Gauge Alternator Lead
Problem: The main connection from the alternator to the battery is an un-fused connection that consists of (2) small 10 gauge wires. This leads to a wire that can short (as happened with me) with no protection, and poor power delivery.
Resolution: Running a 4 gauge wire with a breaker will not only give you protection if this wire ever shorts on the alternator side of the battery, but also give you better power delivery. As a result of doing this modification my headlights are brighter, as well as my dash lights. I am even getting better throttle response which I am sure is the case if the fuel pump, injectors and coil packs were being starved for power at the low end.
Parts List:
In total here is the parts list:
(2-4) 4-Gauge Ring Terminals
(2) 8-10 Gauge Ring Terminals
100amp Breaker (optional)
6-7 feet of red 4-gauge wire
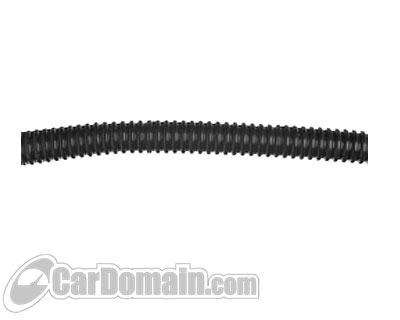
6-7 feet 3/8" wire loom
3M Electrical tape
Longer terminal Bolt (12mm, I believe)
Detailed Parts List:
You are going to need 4-gauge ring terminal wire connectors so that you can screw down the new connections. I got these at a car audio store but you can get them from places such as BestBuy or at on-line retailers. You are going to need 2-4 depending on how you do it. If you just replace the line going to the alternator, and don’t want to put a breaker in, then you are going to need two. You are going to need 4 if you want a breaker in-line (one added for each side of the breaker). I got some just like this:
http://www.cardomain.com/item/PHOP1612
You are also going to need to relocate the two headlight wires to the main fuse terminal that the alternator wires were bolted to (and you are going to bolt the new wire to). A 8-10 gauge ring terminal connectors will work since there are two wires. They are the same thing as above just a bit smaller.
I used a 100amp breaker so that the breaker would trip if there was ever a short on the alternator side of the circuit. This will also help if there is a larger problem. Hopefully this breaker will trip before the main alternator fuse in the fuse box blows out. The factory fuse is rated at 120 and the OEM alternator is rated at 100amps. Here is the breaker:
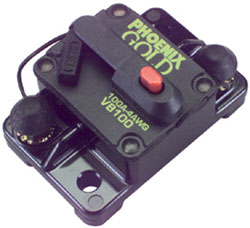
http://www.cardomain.com/item/STISCB150
There is also a cover available
http://www.cardomain.com/item/STISCBCOV
You are going to need 7 feet of 4 gauge wire and loom to match
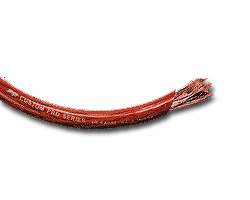
3/8" diameter wire loom that you should also be able to get at a car audio place.
You are also going to need a longer bolt to connect the terminals to the fuse box. This is the OEM bolt. You are going to need to get another one that is a bit longer. I believe it is 12mm.
Get some electrical tape too. I recommend 3M tape because it does not get gooey and sticky with age like some cheaper tapes can. Other than that you are going to need some good crimpers to crimp the connectors onto the wire and wire cutters.
Directions:
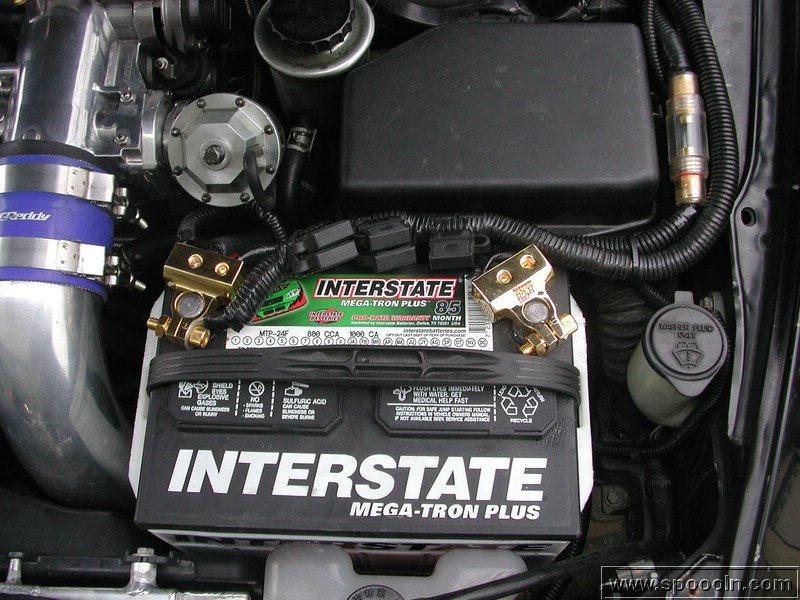
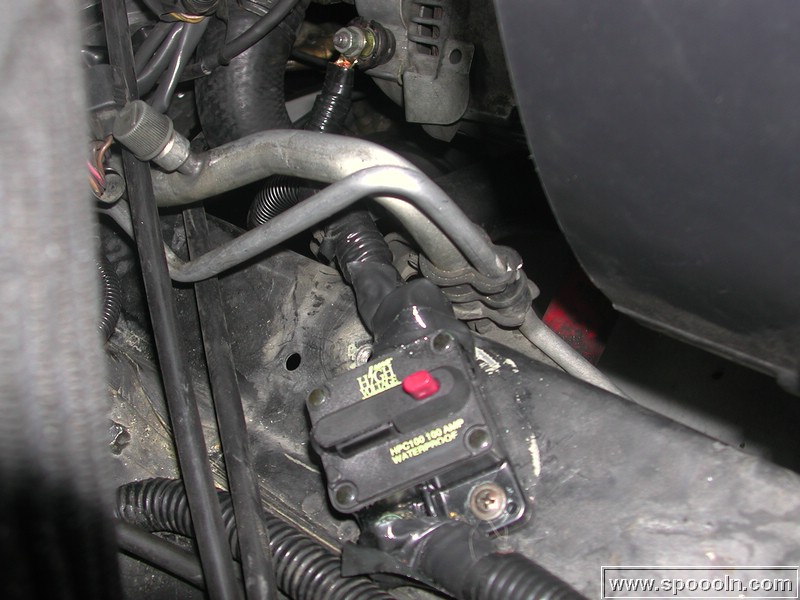
I recommend putting some solder on these connections but this is optional. From the alternator I ran the wire to the breaker which is placed where the stock air intake used to be. There is a cap that goes over this connection. I have removed mine for this picture but the OEM cap will still work.

From the alternator to the breaker. The alternator side goes to the side labeled "Battery". The "Aux" side will go to the fuse box. Make sure to tape the connections well to avoid a short.
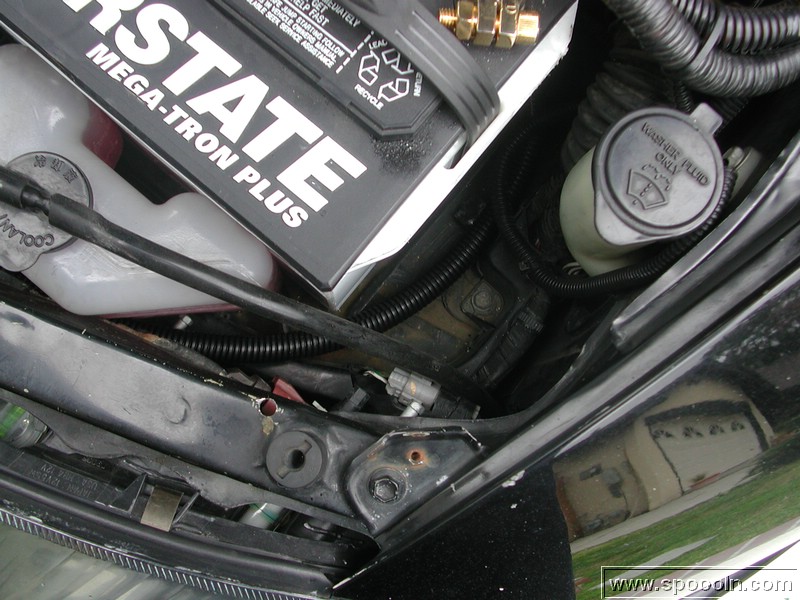
From there the wire runs where the headlights are underneath some metal where the hood latches are bolted. I first made a anchor off of an old bracket and a wire holder. This is optional.
To make it so that the wire is not seen across the front of the car, I ran it where the stock harness goes. This is beneath the metal that the hood prop sits on when its at rest. If you feel under there you can feel the factory wiring harness. I fed mine from behind the headlight so that it ran on top of that harness. It’s a bit of a pain to run but you cannot see it at all. You are going to need something to pull it through the other side. I used a tool like this one:


That made it so that I could reach in and grab the connector on the end of the wire. This is the hardest part but if you take your time it will look the best. Either that or you can tape a coat hanger to the wire and pull it through if you can feed it far enough..
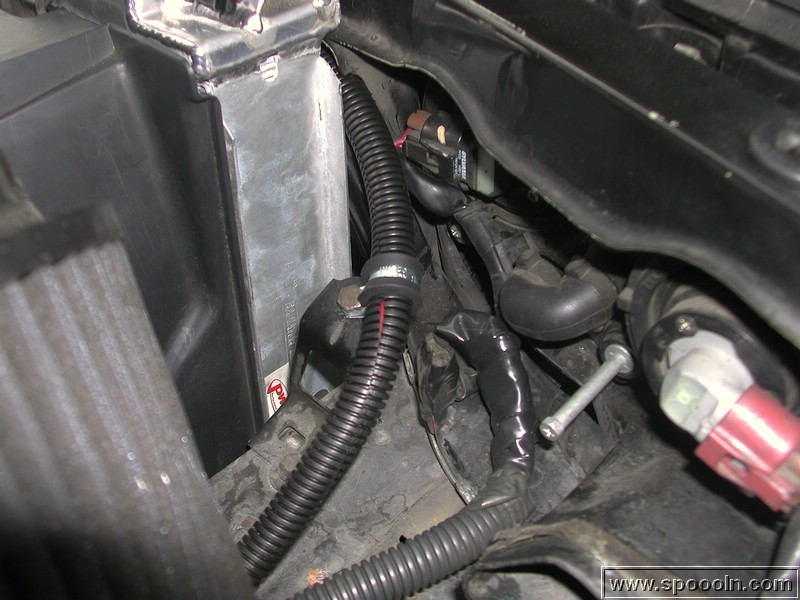
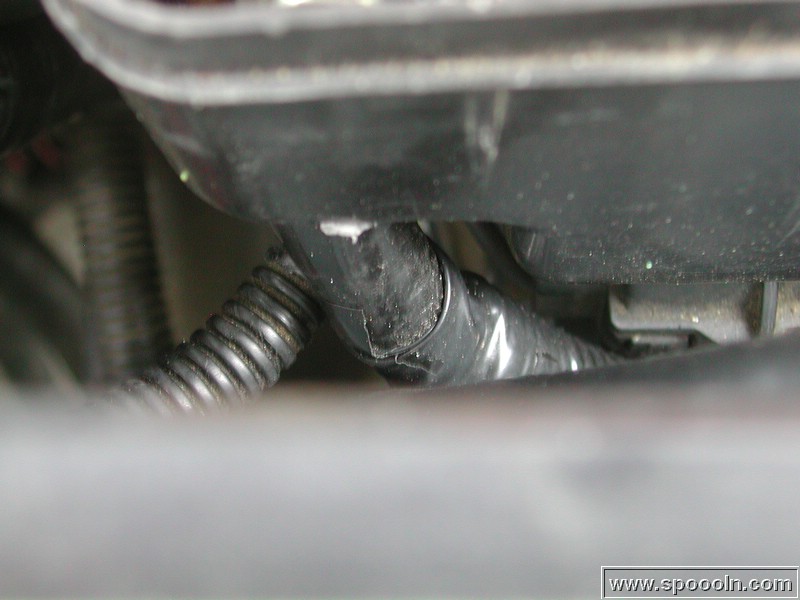
Here is where it came through on the other side and went around that battery:

From there I ran it up to the fuse box. I ended up having to drill a hole in the fuse box beneath the location the main fuse terminal sits. From there I came in straight underneath it as show in the picture below. You are going to need to remove three nuts to get the fuse box out. Two are visible and the other one is beneath a red flip cover. You can see the flip cover in the top left hand corner of the picture below:
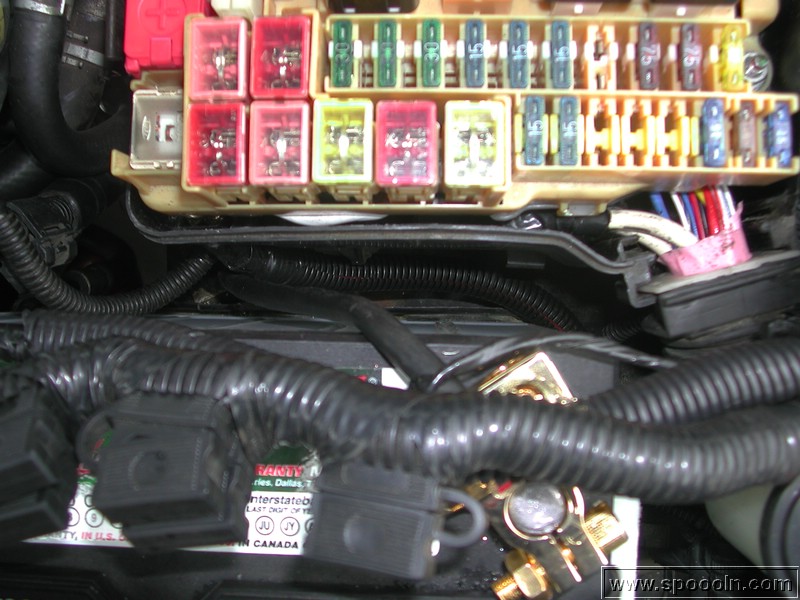
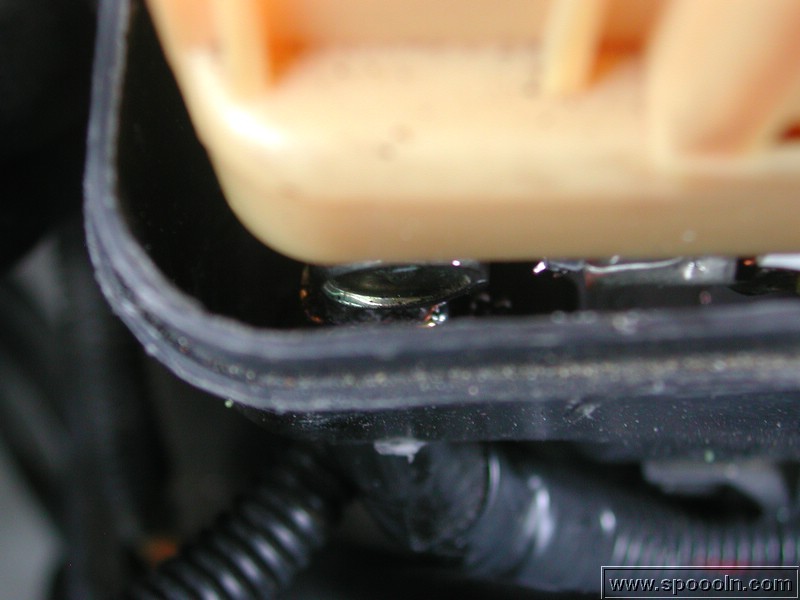
Here is the wire coming straight up underneath the main fuse terminal into the fuse box where I drilled the hole.
Here is the bolt that the 4G lead and also the headlight connections you are about to make connect to. This is the bolt that was replaced with a longer one.
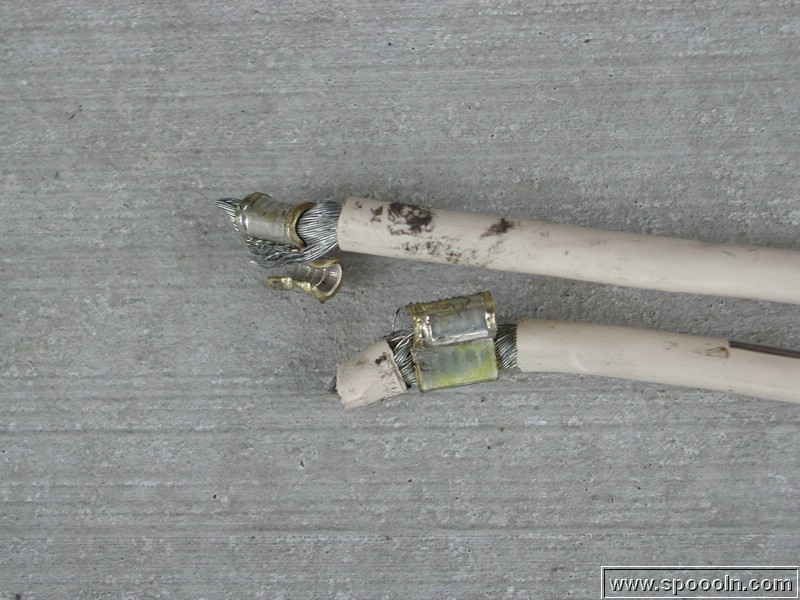
Once the OEM wires get to the fuse box, the factory T-Spliced (with some metal crimp connectors) the one headlight off of each one of the leads from the alternator (two 10G wires) and then electrical taped them. This is where those (2) 8-10 Gauge ring terminals come in. Here is the old wire that was clipped off that has the headlight taps in it. The other end that is still in the car was cut off and taped up. It is the old wire that is no longer in use.

The picture below shows where the taps were. You are going to need to salvage as much wire as possible, so DO NOT CUT THE WIRE FROM THE CONNECTORS!! This will make sure that the wires still reach the main fuse terminal. You are going to need to unbend the clips like I did in the picture below to free the wire from them. I then put connectors on each of those wires and connected them to the bolt that the alternator lead went too. Once that is done, cut off the old connector and tape the wires off.
At this point all of the connections should be made. All you need to do is bolt it back together and test it. Make sure that all of the connections are solid and then take a volt meter across the battery. You should have anywhere from 14.5-15volts across the battery. If not then you may want to look at upgrading your ground or testing to make sure your alternator is good. See the FSM for the procedure on how to do this.
I also replaced my battery connectors to get a better connection to the battery. This will also make it so that you can easily add more items directly to the battery.